Powering 500,000 group chat around the globe.
Engage your audience with
online group chat platform
RumbleTalk is a stylish group chat rooms platform for websites, events and community discussions. Let your audience, team and users chat together to boost your website engagement.
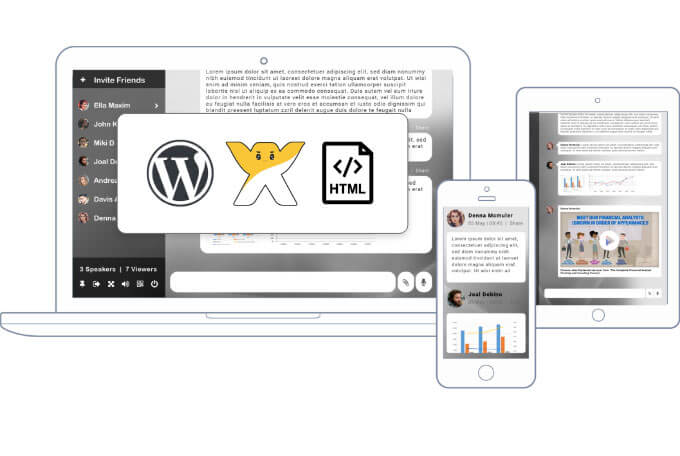
- * Embed in any web page
- * Embed as a floating toolbar
- * Embed in Wordpress
- * Embed in HTML pages
- * Embed in Wix
Everything you expect from a chat
RumbleTalk social online group chat features provide the complete solution for communities and events.
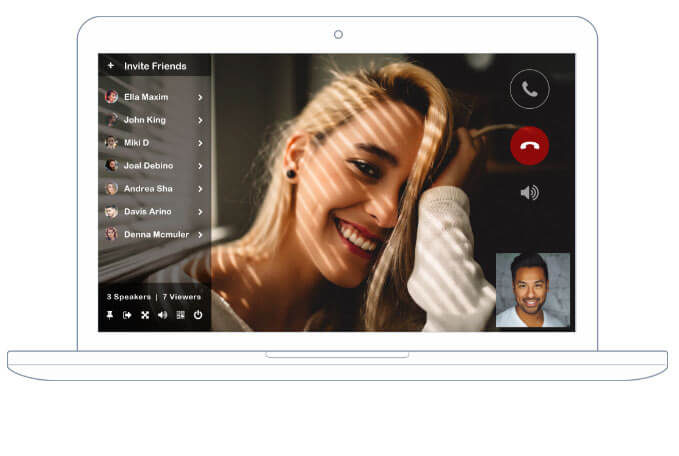
- * Private WebRTC one-on-one video and audio calls
- * Record and share short video & audio messages
- * Add documents, presentations, pdfs and images
- * Take selfies and share them in the chat room
- * Enrich your discussion with YouTube and Vimeo videos
- * Translated into 30 languages
- * Integrate your own users base with RumbleTalk
- * Use advanced REST API to create multiple online group chats
Your own custom theme & design
Choose a stunning online group chat theme from our gallery, or style your chat room however you want. You can use our intuitive advanced design tools or create your own chat theme using CSS.
- * Chat themes library
- * Intuitive advanced design tools
- * Full access to the chat CSS for infinite customization
- * Change background, borders and font with a click
- * Switch between chat themes in real-time
Scalable, Reliable, Affordable
A RumbleTalk hosted chat service will take the burden off your servers. We use the latest cloud technology to ensure a fast, reliable chat room experience wherever you are.
- * No servers
- * No maintenance
- * State of the art service
- * SSL secure connection
- * Set moderators & privileges
- * AntiSpam - word blacklist
- * Save and export chat room history
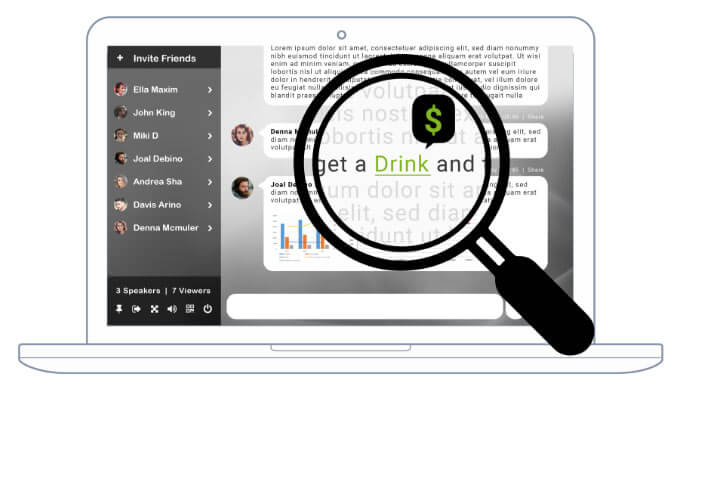
In chat Ads
RumbleTalk InTEXT highlighted word ads will transform the way you earn from your chat. Specific words can be automatically highlighted and linked to anywhere in the net, allowing you to direct your fanbase and audience to your affiliated partners.
Including Tons of Features
Paid chat
Enable paid chat and you can charge for entering a chat per minute or by subscription. Maximize your earnings with RumbleTalk chat.
Works with Paypal, so your audience can easily login and pay.
inText adds
RumbleTalk InTEXT highlighted word ads will transform the way you can earn from your chat.
Specific words can be automatically highlighted and linked to anywhere on the net, allowing you to direct your fanbase and audience to your affiliated partners.
Multiple chats
Create one or several rooms. RumbleTalk's advanced admin panel helps you manage all your rooms.
Specific words can be automatically highlighted and linked to anywhere on the net, allowing you to direct your fanbase and audience to your affiliated partners.
You can:
- Add different rooms to different areas of your site.
- Add different rooms to different websites (domains).
- Embed the same chat in several locations.
Don't have a website? No problem. You can share a direct group chat link with your group.
Hosted Group
RumbleTalk group chats are hosted on RumbleTalk servers.
This means you won't have to install any software or worry about bandwidth, server performance, or maintenance.
We've done the work for you.
Public & Private
RumbleTalk chat can be used for group discussions and/or for private discussions. Group chats can be open for the public (social chat) or restricted to members only.
- Social Group Chat - open to everyone
- Members Only chat - restricted to members only
- One-on-One chat
Rest API
RumbleTalk chat can be used for group discussions and/or for private discussions. Group chats can be open for the public (social chat) or restricted to members only.
Use it on the fly for ad-hoc queries, or as part of a more complex logic.
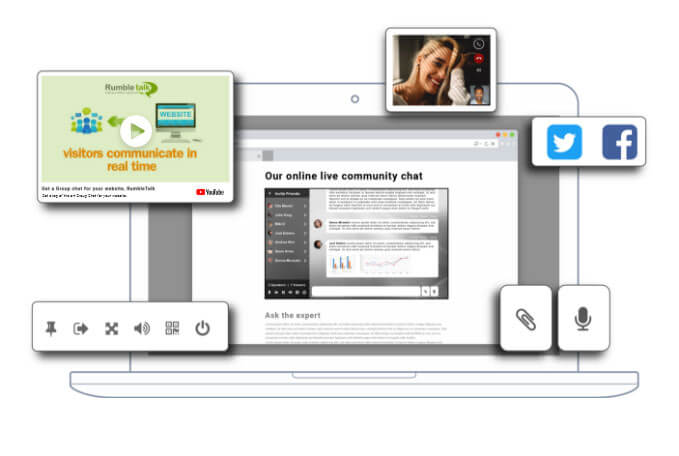
Embed in Any Page
The RumbleTalk HTML5 group chat platform can be added to any page. It is fully responsive and will fit itself to the space you give it.
We've designed our group chat to seamlessly and beautifully display on everything from pc, Mac, and smart phones to big screens and smart TVs.
It can also be embedded as a floating icon in the left or right lower corner of the window.
Design Features
RumbleTalk group chat can be designed to fit any style. Our admin panel allows easy customization options for everything from fonts to background images.
You can also choose a premade design from a vast library of premade themes. You can use a theme as is or tweak the settings to truly capture your desired look.
Full CSS Capabilities
For more advanced users, RumbleTalk group chat allows full CSS customization for both (and separate) web and mobile browsers.
You can even choose custom notification sounds�notifications for new messages, users, calls, and more can all be customized.
Synced Group Chat
The same group chat window can be placed across many websites or pages and the conversation is automatically synced.
This means your customers can browse your content while remaining engaged in the online community.
Audio & Video
RumbleTalk group chat enables participants to chat as a group and privately. Private conversations can be text, audio, or even video calls.
We've implemented the latest Google WebRTC technology, which means your users won't have to install any software to make private audio and video calls.
Note, Broadcast Video from one to many is not supportedSharing
Enrich your conversation with images, voice messages, and YouTube videos.
- Integrated Social Sharing
- YouTube and Vimeo Sharing
- YouTube Live Streaming
- Recorded Video Messages
- Recorded Audio Messages
- Image Upload and Sharing
- File Sharing
- Custom/Your Own Emoticons
Effective Moderation
Administrators have several tools to effectively moderate group chats.
- Users can be disconnected as a warning
- Ban users entirely based on their IP address so that they will not be able to login again
- Ignore users - any participating user has the ability to ignore another user's private & public messages in the chat.
User Profiles
If your users are created in the users management area, or logged in with their Twitter or Facebook account, their profile information will show when clicking on a user name during a chat conversation.
Smart & Secured
We've taken care of security too. RumbleTalk uses SSL/TLS security to protect your conversations and users' information.
A RumbleTalk group chat history can be automatically archived for three months. During this time, you can easily export your conversation history as an HTML file.
RumbleTalk online group chat platform offers a free forever chat
and several paid plans with more features, and support.
IT'S FREE!
